Record Audio from a DVD
From SoundTaxi
With SoundTaxi you have a great opportunity not only to convert any video, also you can record any audio from a DVD. All you need to do is to follow a few simple steps.
Contents |
Step 1.
First of all, you need to copy your DVD (VOB files) to the hard drive.
Please note, SoundTaxi doesnt convert video directly from DVD disk.
Step 2. Customize Settings
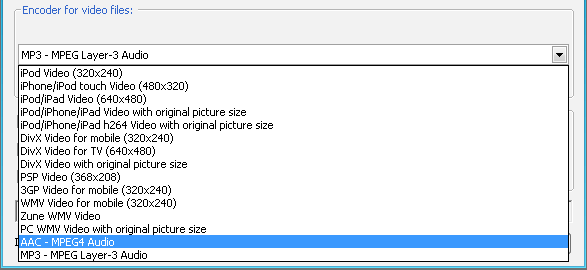
First of all, please open SoundTaxi settings, find "Encoder for video files" and select AAC – MPEG4 Audio or MP3 – MPEG Layer-3 Audio as output format from the drop-down list.

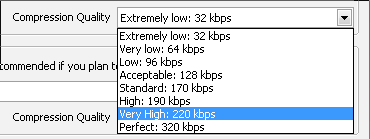
Also you can select a desired “Compression Quality” for MP3 and M4A files from the drop-down list. The highest compression quality is 320 kbps, but if you need to reduce the size of converted files – 170 kbps is the optimal value.
Close the settings by clicking "OK".
Step 3. Select the files for conversion
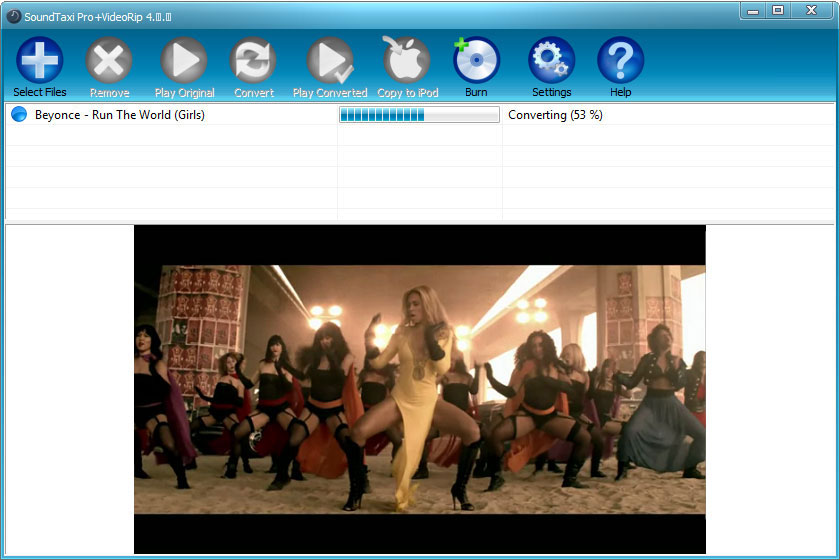
To add your files, click "Select Files" button in the program window and choose desired files for conversion.
Another way to add your files is to drag-n-drop single files or entire folders from Windows Explorer to SoundTaxi window.
Step 4. Record Audio from a DVD
Step 5. Locate and transfer the output audio files
Your converted files are stored in the folder set as "Output Folder" (see SoundTaxi settings), e.g. C:\Converted. You can copy them elsewhere manually using Windows Explorer.
Also you can right click the file in SoundTaxi and select "Locate converted file" to find it in Windows Explorer.
Note, you need SoundTaxi Pro+VideoRip edition to take audio from YouTube videos.


